
Homemade Salt & Vinegar Potato Chips
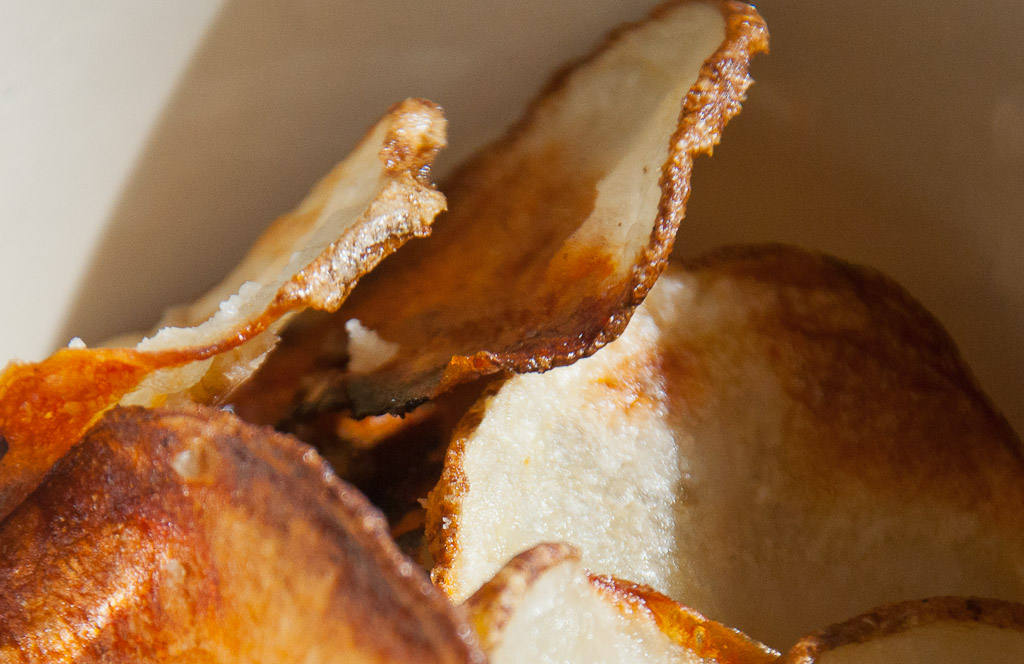
Ahhhhh, the potato chip. Can’t get any better than this…unless, of course, they are Salt & Vinegar Potato Chips!! After spending a week on the beach eating salt and vinegar chips straight out of the bag (please don’t judge), I decided to come home and make my own. There is nothing that compares to homemade. My chips are both crunchy and salty with a hint of vinegar to boot! Make them to compliment your next BBQ or, as I did, as a fun snack for your family when they come home from a long day. Yummmm…I wish there were leftovers!!
Start by washing your potato thoroughly. I don’t peel my potato so I like to make sure the skin is very clean. (You can peel yours–it’s just a preference thing.) Next, thinly slice the potato using a mandoline or, if you don’t have one, a sharp knife. You want to get the slices fairly thin or they won’t crisp up like a chip should. Have a bowl of very cold water nearby and as you are slicing immerse the potatoes immediately. This keeps them from turning brown and also reduces some of the starch content. When done, remove the slices from water and lay them in a single layer on paper towels.
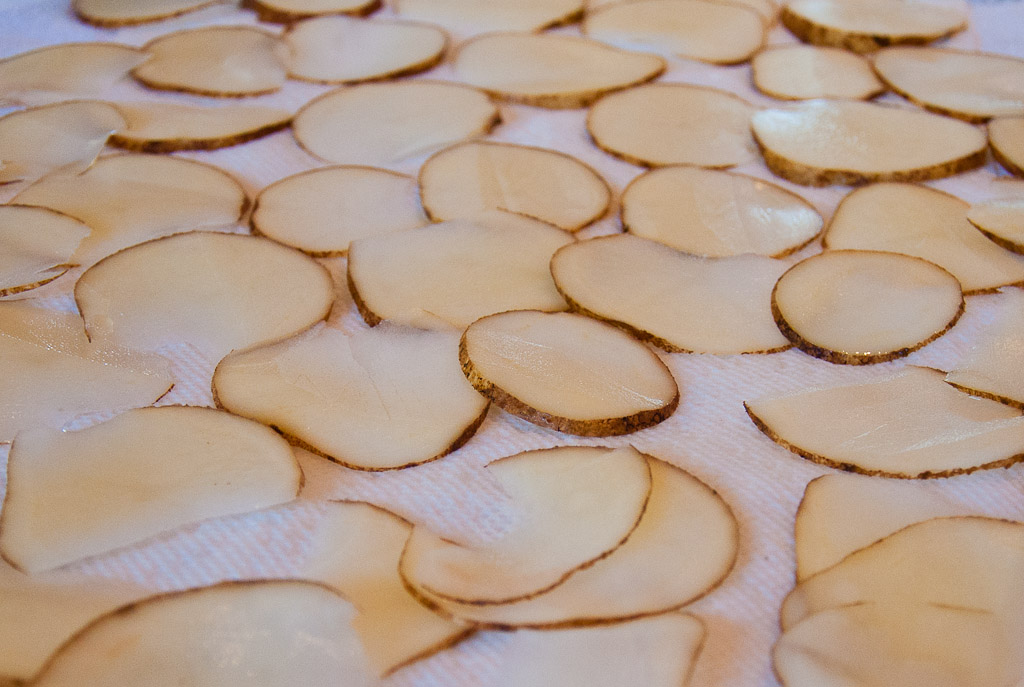
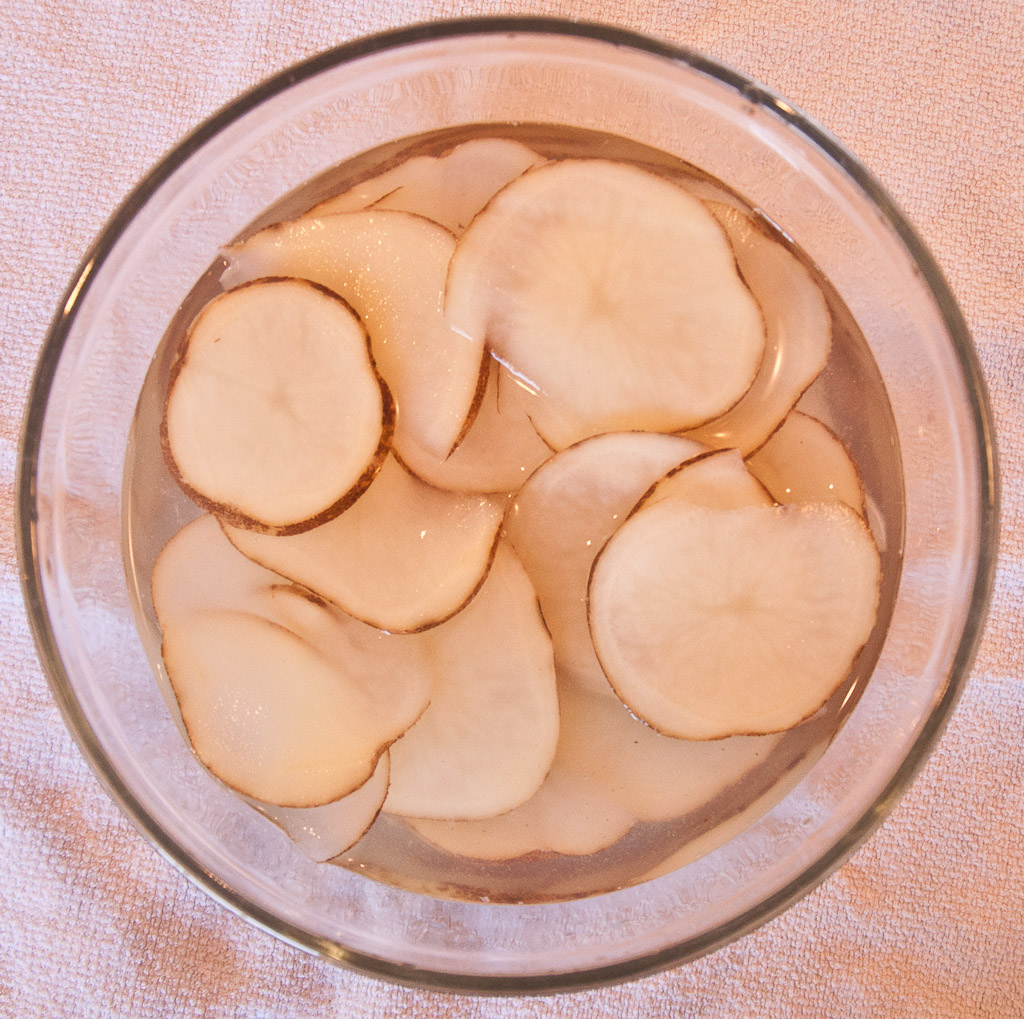
When dry, put the potato slices back in a bowl and this time immerse them in the white wine vinegar. Refrigerate for 30 to 60 minutes (the longer the more vinegar flavor). Stir them half way through.
In a separate bowl, add ¼ cup of the canola oil. Working in batches, take the sliced potatoes from the vinegar bowl and dunk them into the canola oil. Make sure they are thoroughly coated. Arrange potatoes in a single layer on a tinfoil-lined cookie sheet. Sprinkle with sea salt.
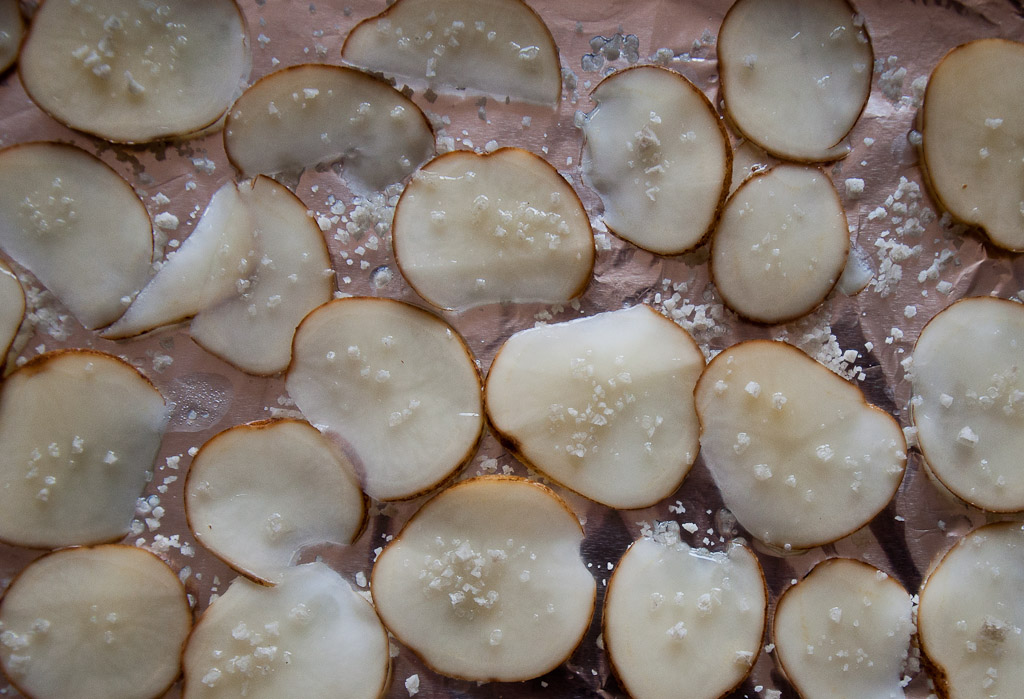
Bake at 400º for 20-30 minutes or until cooked to desired crispness. Remove from the oven and lay cooked chips on paper towels to remove excess oil. Repeat process for the second batch. Now let’s see if you can wait until they are cooled before you dive in…
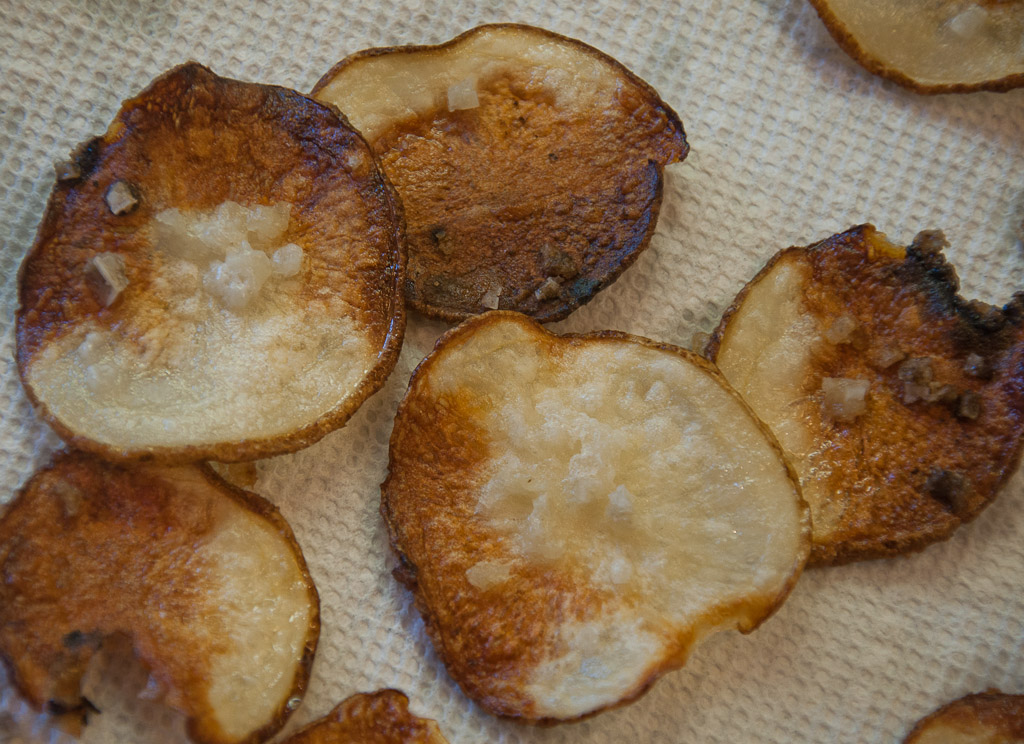
Ingredients:
1 Russet potato
2 cups white wine vinegar
½ cup canola oil
Sea Salt *
Serves ???…..depends on how many you can eat!! The batch I made using one potato made enough for 4.
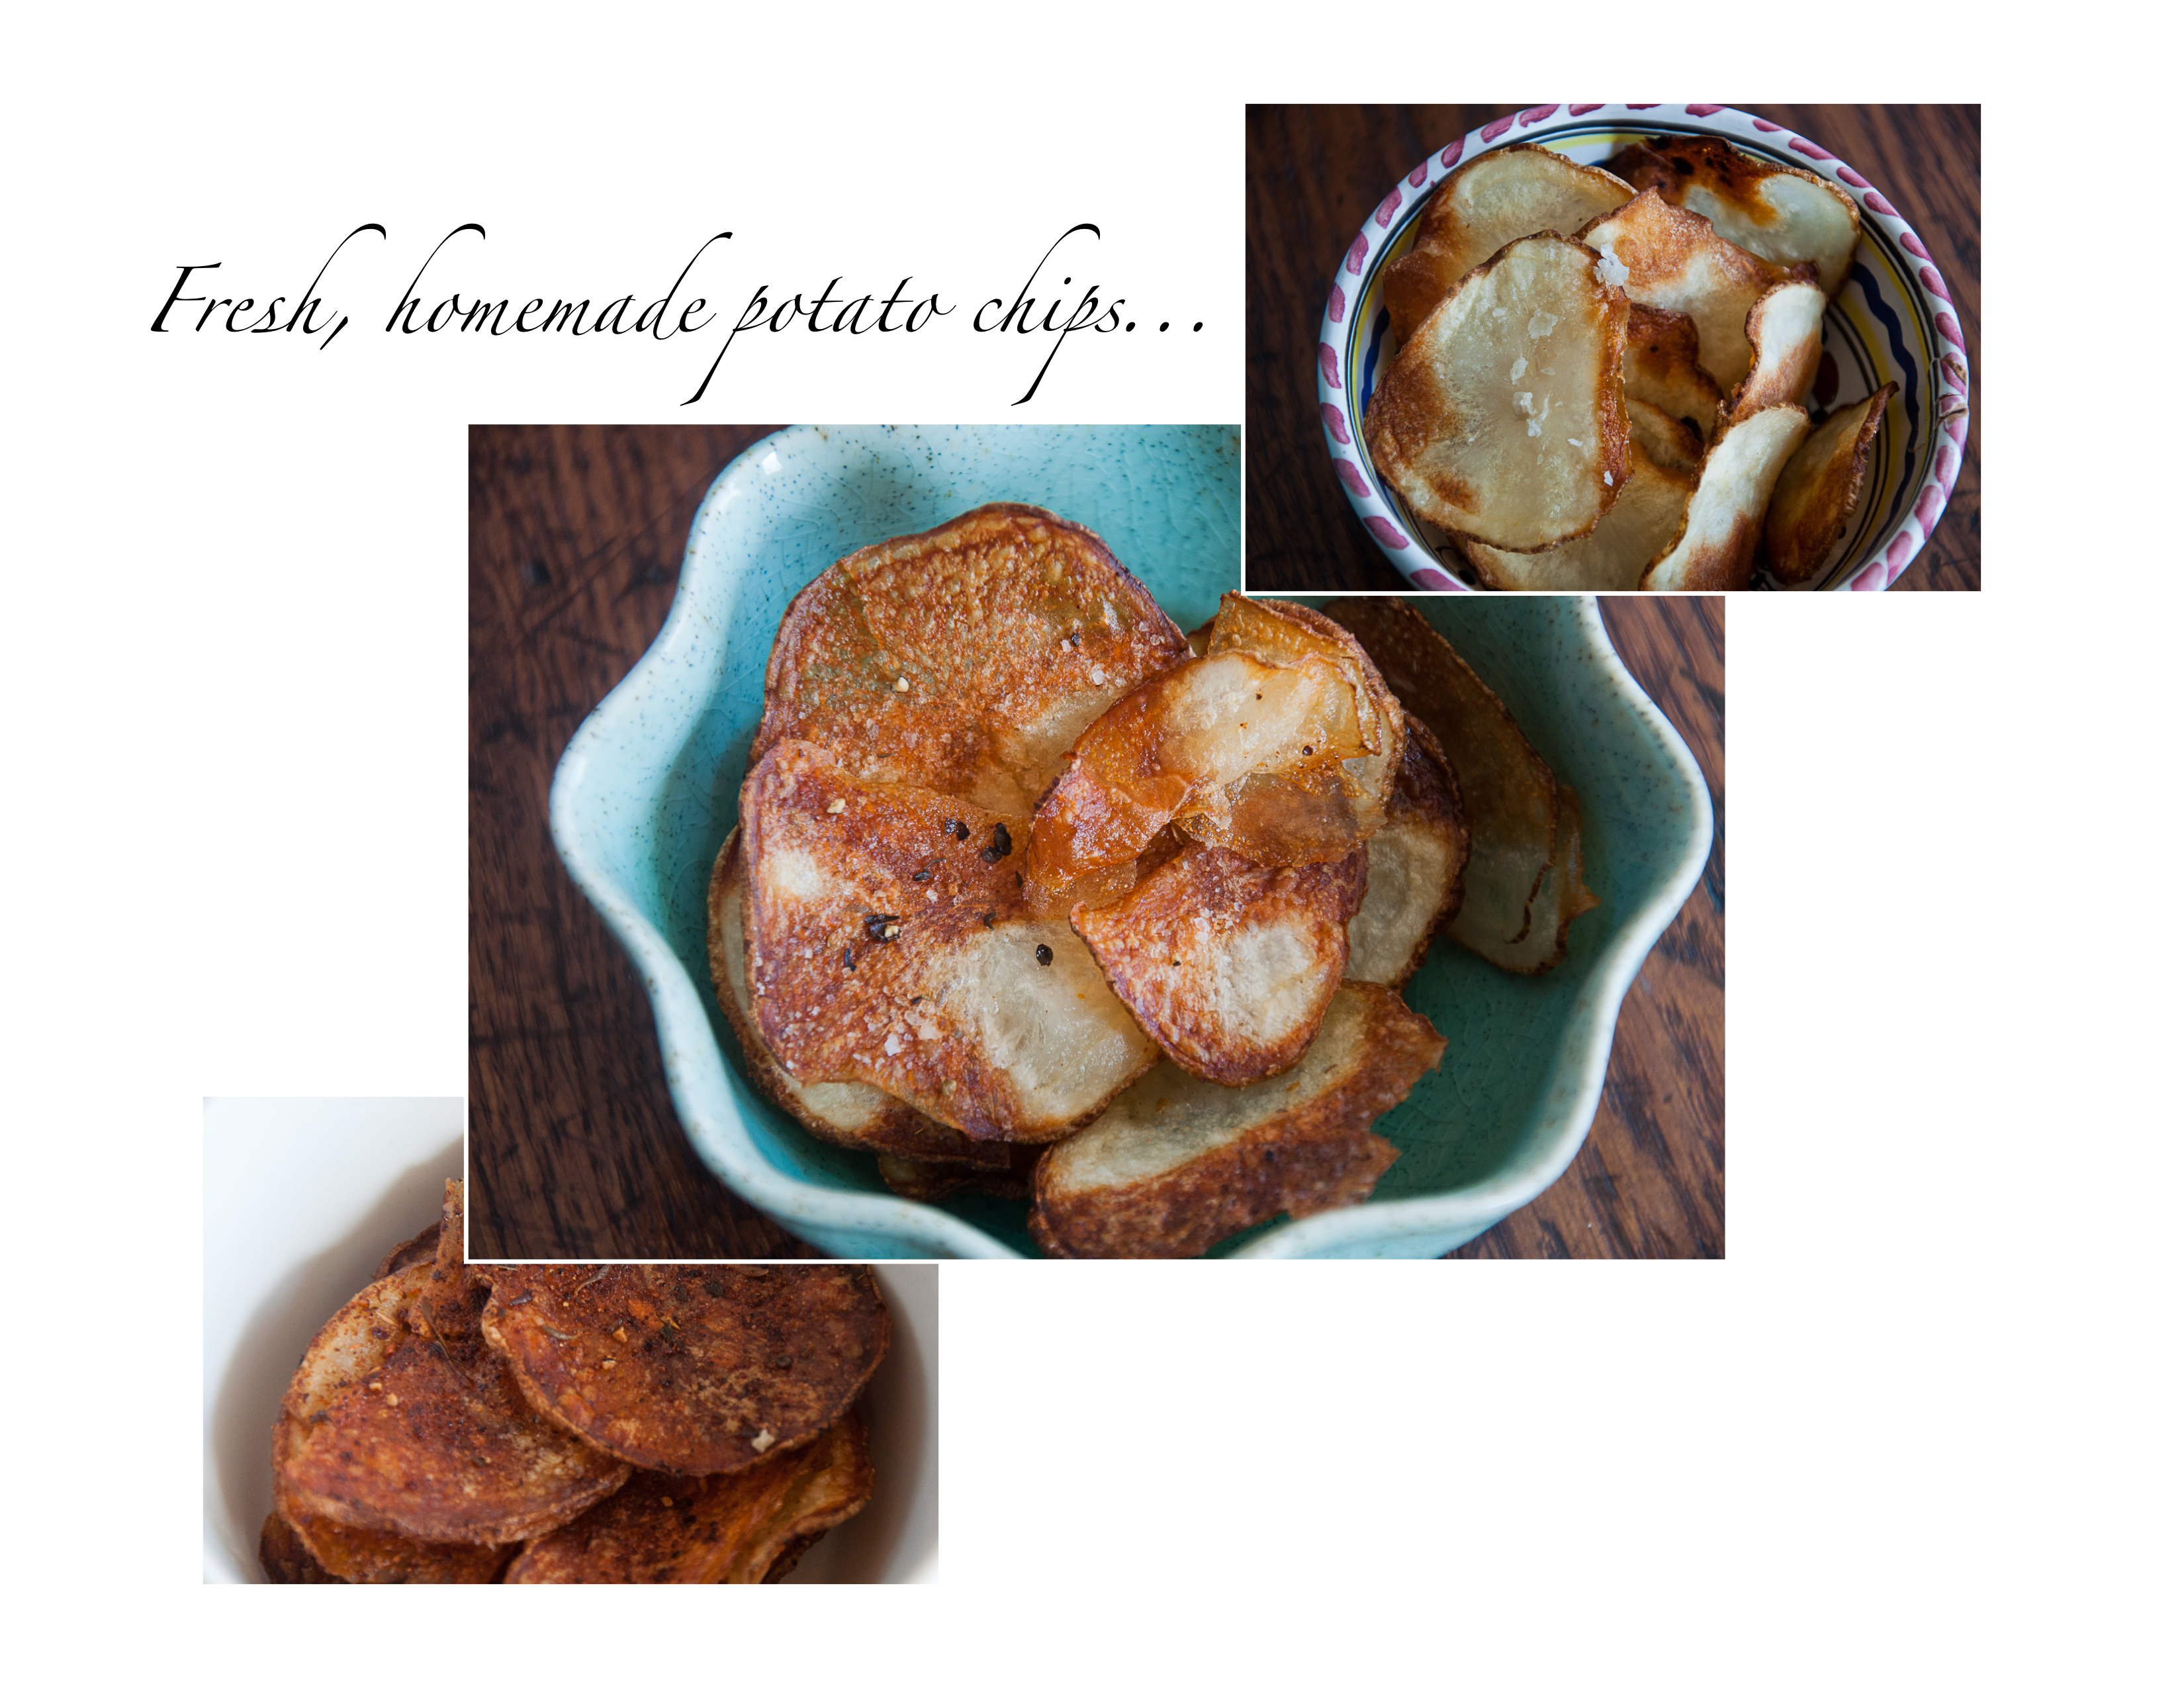
* You can change up the chips using different spices instead of sea salt–I made some using Crazy Jane’s Mixed Up Salt (my favorite salt!!) and some using BBQ spices. All three were equally delicious!!
Tips for Success
- Slice as evenly as you can. A mandoline really is the best tool here. Aim for slices about 1/16 inch thick. If some are thick and some are thin, the thin ones will burn before the thick ones crisp.
- Dry, dry, dry. After the cold water soak, pat the slices completely dry before they go into the vinegar. Then let them drain well after the vinegar too. Extra moisture is the enemy of a crunchy chip.
- Do not overlap the slices. Every chip needs its own spot on the pan so the hot air can reach both sides.
- Keep an eye on them at the end. Chips go from golden to too dark very quickly. Pull out any that finish early and let the rest keep going.
- Use the second 1/4 cup of oil for batch two. Fresh oil for the second round keeps every chip evenly coated.
Ingredient Swaps and Variations
White wine vinegar gives a nice clean tang, but plain white vinegar works and gives a sharper, more classic chip shop flavor. Apple cider vinegar is a little milder and fruitier. For the coating, any neutral oil like vegetable or light olive oil works in place of canola. You can also change up the seasoning after baking with smoked paprika, garlic powder, a sprinkle of dried dill or a pinch of cracked black pepper along with the salt.
Make Ahead and Storage
Homemade chips are best the day they are made, but if you somehow end up with leftovers, let them cool completely and store them in an airtight container at room temperature for 2 to 3 days. If they lose a little crunch, spread them on a baking sheet and warm them in a 350 degree oven for 3 to 5 minutes.
How to Serve Them
These are wonderful next to burgers and sandwiches at a cookout, piled into a bowl for game day, or packed into a picnic basket. I also love them with a bowl of creamy onion dip for dunking.
Frequently Asked Questions
Why are my chips soggy?
Usually the slices were too thick or still wet when they went into the oven. Thinner slices and a good drying step solve the problem.
Can I make these in an air fryer?
Yes. Work in small single layer batches at about 375 degrees and shake the basket often. They cook faster, so start checking after about 10 minutes.
Homemade Salt and Vinegar Potato Chips
Ingredients
Method
- Preheat the oven to 400 degrees F.
- Wash the potato thoroughly. Peel it if you like, or leave the skin on.
- Thinly slice the potato with a mandoline or a sharp knife, dropping the slices straight into a bowl of very cold water as you go.
- Remove the slices from the water and lay them in a single layer on paper towels until dry.
- Place the dry slices in a bowl, cover with the white wine vinegar and refrigerate for 30 to 60 minutes, stirring halfway through.
- Pour 1/4 cup of the canola oil into a separate bowl.
- Working in batches, take the slices from the vinegar and dunk them in the oil until thoroughly coated.
- Arrange the slices in a single layer on a foil lined cookie sheet and sprinkle with sea salt.
- Bake for 20 to 30 minutes, or until crisp.
- Transfer the chips to paper towels to drain excess oil.
- Repeat with the remaining slices and the remaining 1/4 cup of oil.
Notes

Mandy
I started this blog after my daughter came home from a year in Paris and reunited me with my passion for cooking. Here you will find what comes out of our weekly test kitchen plus my tried and true favorites.


Yum. I can’t wait to try these. You have the beat recipes!
Sent from my iPhone
They are so yummy…like most chips though, you can’t eat just one!!
I love making potato chips at home, but I’ve never made salt and vinegar! These look awesome.
They are!! I am going to make them with sweet potatoes next…yummy!
I’ll have to make these for my teenage son! He loves salt and vinegar chips. Very nice blog here. 🙂
Thanks!! I like your blog as well. These chips are so yummy. I hope your son likes them!!
me and my dad absolutely love salt and vinegar chips an di wanted to make some and I just did put em in the oven and it smells delicious yall